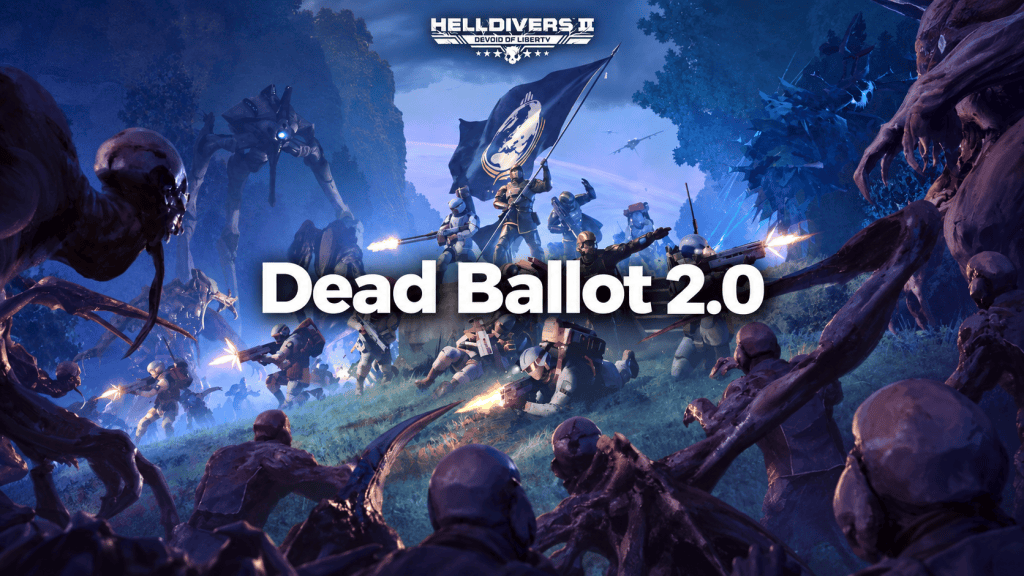
Turn Helldivers 2 into a survival horror experience: start with basic equipment, scavenge supplies, stay together, and earn new gear through play.
Designed for the Illuminate faction’s Mindless Masses or Vote Snatchers operations, this rule set emphasizes limited resources, teamwork, and character progression.
Recommended Difficulty: 3 or 4.
The rules below incorporate feedback from group playtesting. The core rules provide an established baseline you can use now. The experimental options are ideas still being developed and tested; their costs, limits, and consequences are not finalized.
It is strongly recommended that players use a notebook, smartphone, etc. to record their individual progress like a character sheet or scorecard like is used in many tabletop style games.
Core Rules
Starting Equipment
Every player begins with:
- B-01 Tactical body armor
- AR-23 Liberator
- P-2 Peacemaker
- G-12 High Explosive grenades
- No booster
Challenge unlocks grant permission to equip items you already own on your actual account. They do not purchase or unlock equipment in the game itself.
Earn Unlock Tokens
Each successfully completed mission earns one unlock token per player.
One token unlocks one qualifying equipment item:
- Body armor
- Primary weapon
- Secondary weapon
- Throwable
- Booster
Each costs one token and counts toward completing its page.
Earned equipment remains available permanently under the core rules. There are no progression resets or equipment-loss penalties in the standard mode.
Helldivers Mobilize Is Always Accessible
You may spend unlock tokens in Helldivers Mobilize at any time without changing your active specialty warbond or Superstore selection.
Choose any page to work through. You must finish that page’s qualifying unlocks before choosing another Mobilize page.
You do not have to begin on the first page or complete the pages in their original order. This gives players more freedom to develop their preferred role within a large warbond.
Choose Your Specialty Warbond or Superstore Page
Alongside Helldivers Mobilize, choose one specialty warbond or one Superstore page to work through.
For a specialty warbond:
- You may begin on any page.
- Finish the qualifying unlocks on your current page before moving to another page within that warbond.
- Complete all qualifying equipment in the entire warbond before switching to another specialty warbond or Superstore page.
For a Superstore page:
- Choose any individual page.
- Finish its qualifying unlocks.
- You may then choose another Superstore page or specialty warbond.
The distinction is the commitment: specialty warbonds require completing the whole warbond, while Superstore selections require completing only the chosen page.
Banned items and rewards outside the qualifying equipment categories do not need to be unlocked and may be ignored.
Armor Unlocks and Cosmetic Alternatives
Armor unlocks are based on the combination of armor rating and armor passive.
Once you unlock an armor, other armors with that exact rating and passive become cosmetic alternatives. They require no additional token, provided you own them.
An armor with the same passive but a different armor rating requires a separate unlock. An armor with the same rating but a different passive also requires a separate unlock.
An armor that is already available as a cosmetic alternative does not require another token to complete a warbond or Superstore page.
Helmets and capes require no challenge unlock.
Event and Major Order Rewards
Weapons awarded through events, Major Orders, or similar releases outside warbonds and Superstore pages are standalone unlocks.
Spend one token to unlock an eligible weapon at any time. This does not require starting a new page or changing your active progression selection. Weapon restrictions still apply.
For reward armor whose rating-and-passive combination exists in a warbond or Superstore page, unlock that combination through the warbond or Superstore first. The reward armor then becomes a cosmetic alternative.
A reward armor with a genuinely unique rating-and-passive combination may be unlocked as a standalone item.
Equipment Restrictions
The following are prohibited:
- Exploding Crossbow and Eruptor
- Weapons with infinite ammunition or heat sinks, including the Talon and Dagger
- Melee weapons are allowed
- Arc Thrower, even when found during a mission
- Stealth-oriented items, including stealth armor
Skip prohibited items when determining whether a page or warbond is complete.
Other eligible primaries, secondaries, throwables, body armor, and boosters use the normal progression system.
Cosmetics, titles, and other nonqualifying rewards require no challenge unlock. Owning a stratagem does not grant permission to call it during these missions.
The goal is to maintain survival horror tension through ammo scarcity.
Stratagem Restrictions
No stratagems are allowed, including Resupply, except:
- Stratagems tied to main or side objectives, including objective equipment, Hellbombs, and SEAF Artillery
- Reinforcements under the point-of-interest rule below
- The earned extraction Resupply reward described below
Additional stratagem access is being considered in the experimental options.
Reinforce at Points of Interest
Reinforcements may only be called at a point of interest.
The returning player should land close to the reinforcement beacon.
This gives the squad a reason to protect one another and reach a reinforcement location together when someone dies.
Scavenge to Survive
Use supplies and equipment found during the mission, including:
- Support weapons
- Backpacks
- Ammunition and other supplies
- Vehicles
- Emplacements
Found equipment remains subject to the restrictions. Finding a banned weapon does not make it usable.
Stay Together
Move, loot, and fight as one survivor group.
Do not split up to complete objectives or scavenge independently. Coordinate movement, share resources, and help the group reach extraction.
The goal is to have fun as a team moving together.
Limited Map Information
Keep the minimap fully zoomed out for basic navigation, and do not continue moving around with the map open constantly as this can deliver too much information about enemy locations.
Do not use it to scan for enemies or undiscovered loot.
Do not place map markers.
Use of the in-game communication wheel, pings, voice and text are allowed.
The goal is to preserve the survival horror tension of operating with limited knowledge of the map, enemies, and so on.
Full-Clear Rewards
Destroy all enemy outposts: Earn one Resupply call-in at extraction for the entire squad. This is one shared call-in, not one per player.
Complete all side objectives and the main mission: Each player who successfully extracts aboard the Pelican earns one additional unlock token.
The normal reward for successful mission completion remains unchanged. A qualifying player earns two tokens total. A player who does not extract receives no extraction bonus.
What Playtesting Has Shown
During playtesting, most participants responded positively to the point-of-interest reinforcement rule. It encouraged the squad to stay together and gave survival decisions meaningful consequences.
Players also invested in complementary roles. Medic armor became appealing, and one player deliberately progressed through Chemical Agents to obtain the stim pistol, which proved particularly useful.
Players described the progression as feeling similar to a D&D campaign: developing a character, making equipment choices, and helping a group survive together. These are encouraging observations from the playtest group, with further testing still needed as the rules develop.
Experimental Options
The following ideas are not established core rules. Groups trying them should agree on the details before starting.
Spend Unlock Tokens on Melee-Oriented Stratagems
One proposal would let a player spend one unlock token for one call-in of a selected melee-oriented stratagem during the next mission.
Possible choices include:
- Ballistic Shield
- One True Flag
- Defoliation Tool
The player would call the purchased item when spawning into the next mission. No replacement call-in would be allowed during that mission.
Using it again in a later mission would require another token.
This creates a choice between permanent equipment progression and temporary access to a useful stratagem. Losing the item would make recovering it valuable.
Purchase Stratagem Uses With Samples
Another proposal would use collected samples as currency for stratagem access in the next mission.
Prices would vary according to the stratagem’s effectiveness. For example, a powerful support weapon such as the Cremator might cost 50 common samples, or a combination of common and rare samples.
Those figures are illustrative, not established prices.
The goal is to make sample collection worth the additional danger while keeping powerful equipment scarce.
Details still requiring testing include:
- Which stratagems can be purchased and their prices
- Whether purchases use individual balances or a shared squad balance
- How samples are credited, spent, and carried between missions
- Whether extracting with purchased equipment allows another use in the next mission without paying again
- What happens when equipment is lost, abandoned, or replaced
- How death affects continued access
The token and sample proposals may become alternatives or work together. Their relationship is not settled.
Earn Stratagem Access Through Objectives
Side objectives could also award limited stratagem uses, either directly or alongside a sample economy.
The eligible objectives, available stratagems, number of call-ins, and timing of those rewards still need to be determined.
Any version should preserve the value of scavenging and avoid making replacement equipment so plentiful that losing it stops mattering.
Character Sheets
Players could maintain a simple character sheet recording:
- Unlocked equipment and armor combinations
- Active warbond or Superstore page
- Current Helldivers Mobilize page
- Unspent unlock tokens
- Campaign progress, if applicable
If a sample economy is adopted, the sheet could also track sample balances and purchased equipment.
This would let friends resume their characters in later sessions.
Campaign Mode
A dedicated campaign could begin at a chosen difficulty and challenge the group to complete one full operation at each difficulty, increasing the difficulty as they progress.
The objective would be to see how far the squad can climb with its developing characters.
Starting conditions, advancement, retries, and other campaign details remain open.
Optional Failure Consequences
The standard rules preserve earned equipment. Groups seeking greater consequences could test additional modes.
Extreme survival or permadeath: If the entire team wipes and fails to complete the mission, everyone loses their earned progression and returns to the starting loadout.
Individual extraction penalty: If a player fails to extract while the others extract, that player could lose any non-starter gear that was used during that mission. These lost items would need to be unlocked once again. This could apply whether the mission itself succeeded or failed.
The number of items lost, how this interacts with progression commitments, and whether these penalties belong together or in separate modes remain undecided.
Make the Survival Experience Your Own
The purpose is to create tension through limited resources, meaningful equipment choices, and dependence on your teammates.
Conserve ammunition, make use of what you find, and decide together whether additional objectives and rewards justify the risk.
Treat the core rules as the shared baseline. If your group tries an experimental option, agree on it beforehand and note what it does to the experience—especially teamwork, resource scarcity, and the incentive to explore.
Let me know your thoughts and experiences with this custom survival horror game mode.
And most importantly, have fun!
Fun first, meta second.

 Radekin Gaming
Leave a comment